
MyLO - My Learning Online
Creating Groups in MyLO
This guide outlines how you can create either a particular number of groups or a series of groups designed to each contain a nominal number of students. This guide uses a cohort of 10 - 12 students as examples, and relies on MyLO's capacity to automatically populate the groups with students.
To set groups for student self-enrolment, see the companion guide Creating Student Sign-Up Sheets.
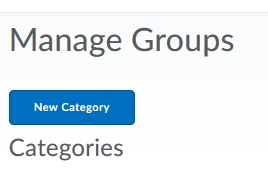
- From your unit homepage Select Groups from the unit navigation bar.

- Click on the New Category button.
- Type a name in the Category Name text field. This is the name of the collection of groups that will be subsequently created - e.g. Project 1.
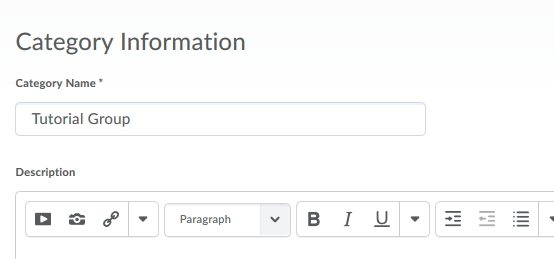
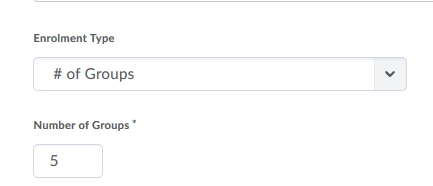
Note: You can add a description to your group but it will not be seen by students - To Create X number of groups: Select # of Groups as the enrolment type. Enter a number in Number of Groups field.
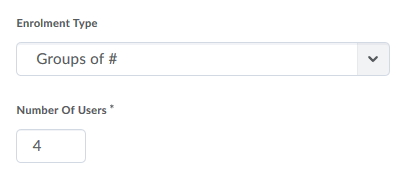
- To Create Groups of X number of students: Select Groups of # as the enrolment type. Enter a number in the Number of users field. This sets the nominal number of students for each group.
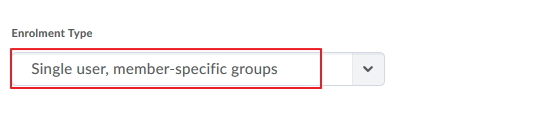
- To Create groups of one user: Select Single user, member specific groups.
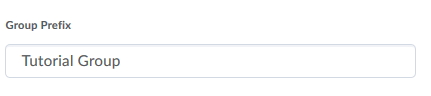
- Add a Group Prefix to your group - if you add nothing all groups will be titled Group 1, Group 2 etc. underneath your Group Category title. These can be edited once created to be more meaningful.
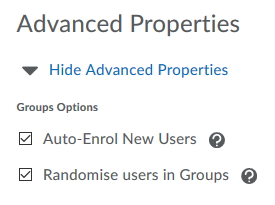
- Select Auto-Enrol New users - this will enable any new students to be automatically assigned to a group that has been created. Select Randomise user in groups if you do not want them alphabetically sorted. Note: You can manually allocate students with the selection of # of groups - No Auto enrolments.
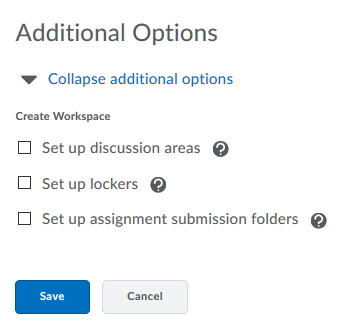
- You can have a discussion area, locker and assignment folder set up for each of the groups if you wish. You can also add these later. Press Save.
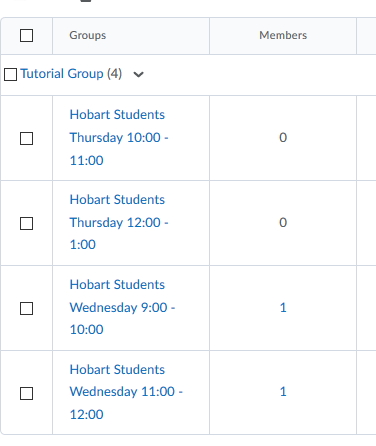
- Your newly created groups will now appear:
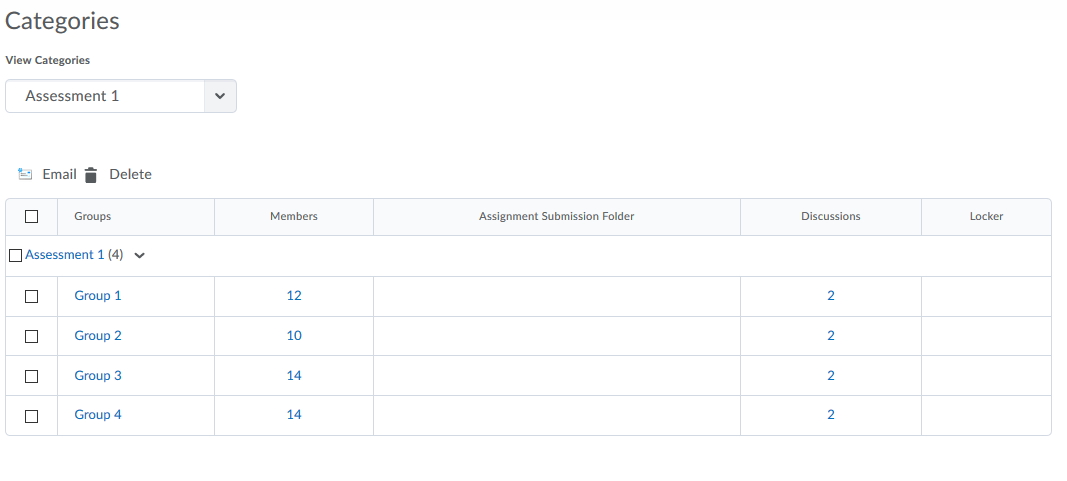
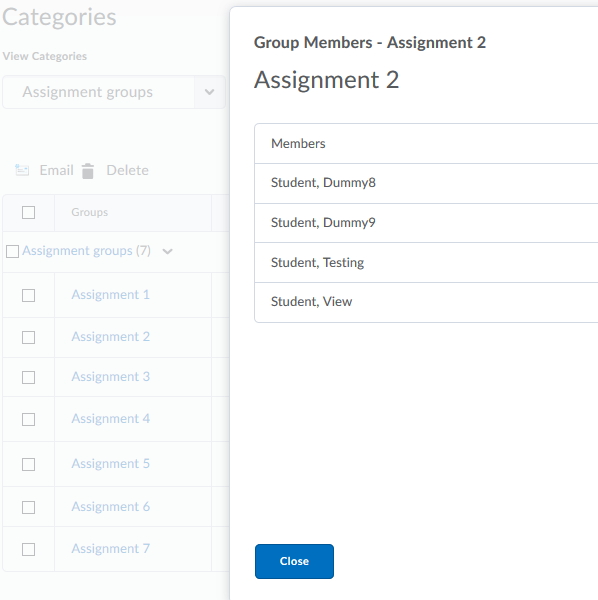
- To view the members of a group , click the numbers in the Members column. You will see the name of each student in the group. Click close to close the window.
- To edit the title of the groups to something more meaningful, press on the title. From here enter the new details and Save.
- You can also manually add/ remove users from your groups from here by pressing on the Enrol Users button:
.

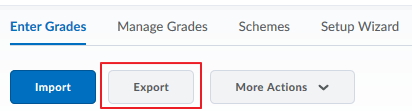
- To print out all users in your groups please go to the Grades tool on the navigation bar. Press on Enter Grades and Export.
- Fill in Group membership and any other details ( including grades) you want to export and press Export to CSV or Excel.
