MyLO - My Learning Online
Creating Content: Adding Files
There are several different ways to add content to your unit. You can upload files such as PDF and word, you can add links to external resources and you can create Web Pages within the unit itself.
Adding Files:
When you have files that you wish to upload to MyLO, it is possible to add them to content either individually or in multiples. Once the files have been uploaded, you are able to edit the Topic name and move files to different locations within the table of contents.
To add files Log into MyLO. Navigate to your unit. Click on the Content link. Click on the module you wish to add the files to.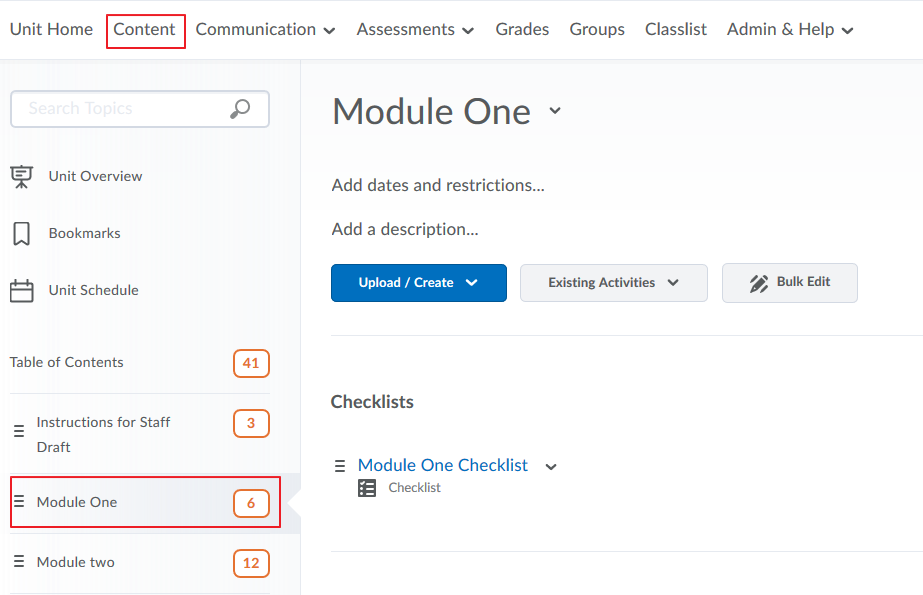
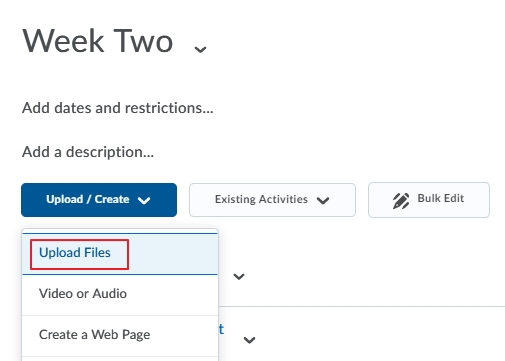
Select Upload/Create and choose the Upload Files option.
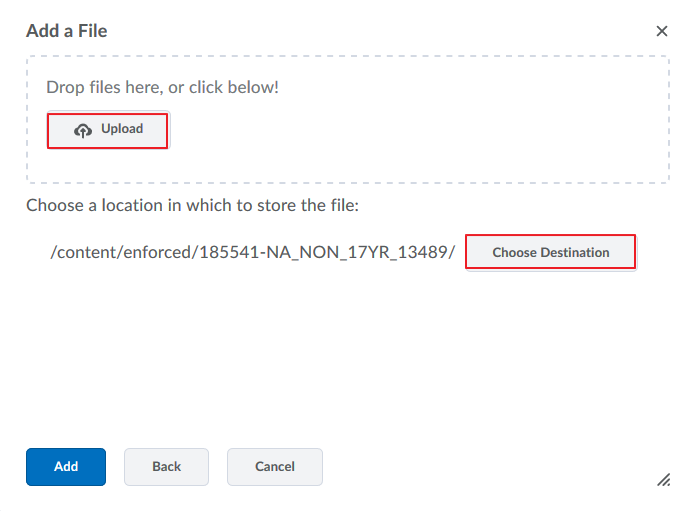
Drag and drop files (to do this hold down the left mouse button and drag files into the Drag files here dialog box) or select them from your Computer or from within your unit. To load the files into a specific folder in your units Manage files area press on Choose Destination.
You can now edit the topics. Press on the Bulk edit button. From here you can edit the title, add a description, set restrictions on when students can access the file, and decide what the completion method will be.

Edit the title and add a Description:
To edit the title of the item press on the file name and type a title that has meaning to students. Click on add a description to open an editing area. Type information that explains to students what the file is, how it fits in with the other resources and activities, and what they should use it for or do with it. Once done click on Update. 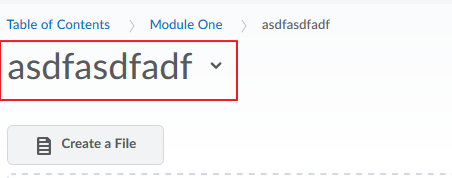
Setting Restrictions:
Click on Add Dates and restrictions to reveal date and release options. Click on Add start date to set a date and time for the topic to become visible to students. Tip: The due date ( when students are initially required to complete the topic) and end date ( when the topic is no longer visible to students) can be set in the same way.

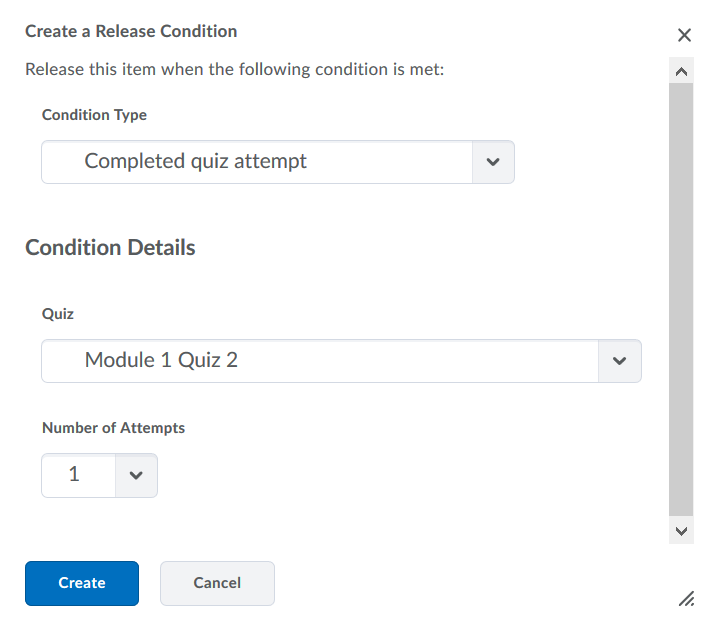
To place conditions on when the topic becomes visible to students, or if you want to make the content viewable by only certain groups of students press on Release Conditions: Create.
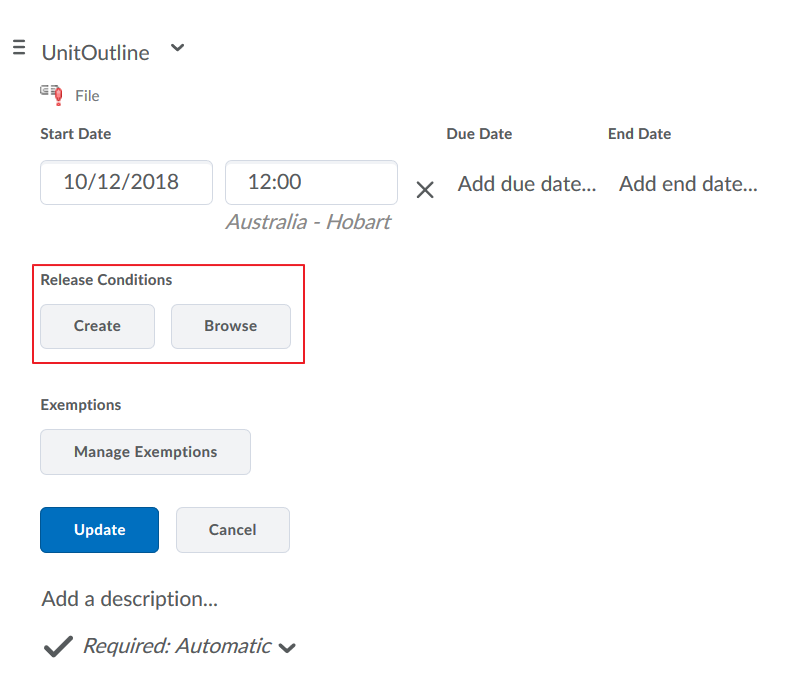
Select the Condition Type from the first drop-down menu and then select the relevant Condition Details. Click on the Create button.