Registering for Multi-factor authentication
How to register with the Authenticator app
Please follow the below steps to complete the multi-factor authentication registration process. These steps will guide you through navigating the Security Info section of your Office 365 User Profile and installing the Microsoft Authenticator app on your device.
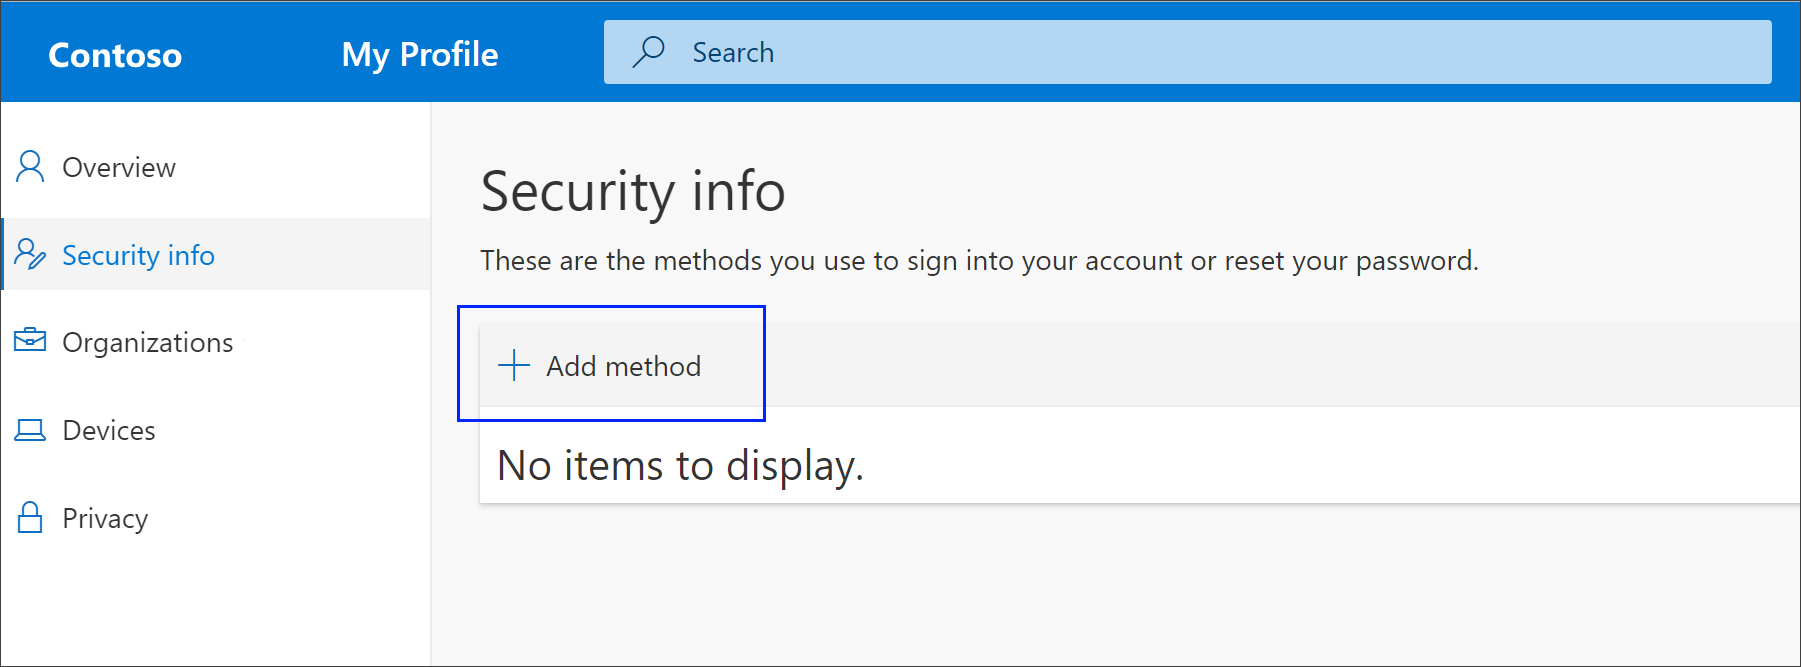
1. Firstly, you will need to open the Security Info section of your Office 365 User Profile on your computer or in your web browser, which you can do by clicking this link mfa.utas.edu.au and logging in as you would normally. With the page loaded, it should look like the screenshot in step 2.
2. Within the Security Info section of your Office 365 User Profile open, click the Add Method button
3. Select Authenticator App from the drop down list, and Click Addto continue
4. On the Start by getting the app page, select Download now to download and install the Microsoft Authenticator app on your mobile device, and then select Next.
Note
You can also use the direct link for your device type below to download and install the app.
- Google Android. On your Android device, go to Google Play to download and install the Microsoft Authenticator app.
- Apple iOS. On your Apple iOS device, go to the App Store to download and install the Microsoft Authenticator app.
If you want to use an authenticator app other than the Microsoft Authenticator app, select the I want to use a different authenticator app link.

5. Remain on the Set up your account page while you set up the Microsoft Authenticator app on your mobile device.
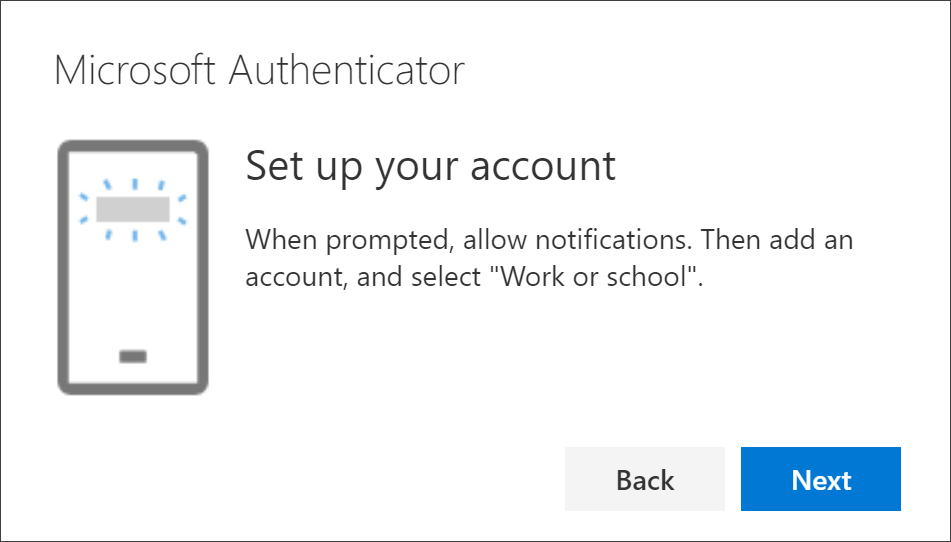
6. Open the Microsoft Authenticator app on your device, select to allow notifications (if prompted), then select Add Account from the Customize and control icon on the upper-right (on Android, this will be three dots, on iOS this will be a '+' icon), and then select Work or school account. If your app opens up to show several options, with one of those reading Scan QR code, you can use that option instead.
Note
If this is the first time you're setting up the Microsoft Authenticator app, you might receive a prompt asking whether to allow the app to access your camera (iOS) or to allow the app to take pictures and record video (Android). You must select Allow so the authenticator app can access your camera to take a picture of the QR code in the next step. If you don't allow the camera, you can still set up the authenticator app, but you'll need to add the code information manually
7. Return to the Set up your account page on your computer, and then select Next.
- The Scan the QR code page appears.
Note
The QR code shown below is for demonstration purposes only. You will need to scan the QR code presented after following through the steps above, beginning with opening the Security Info portion of your user profile at https://mfa.utas.edu.au as described in step 1.
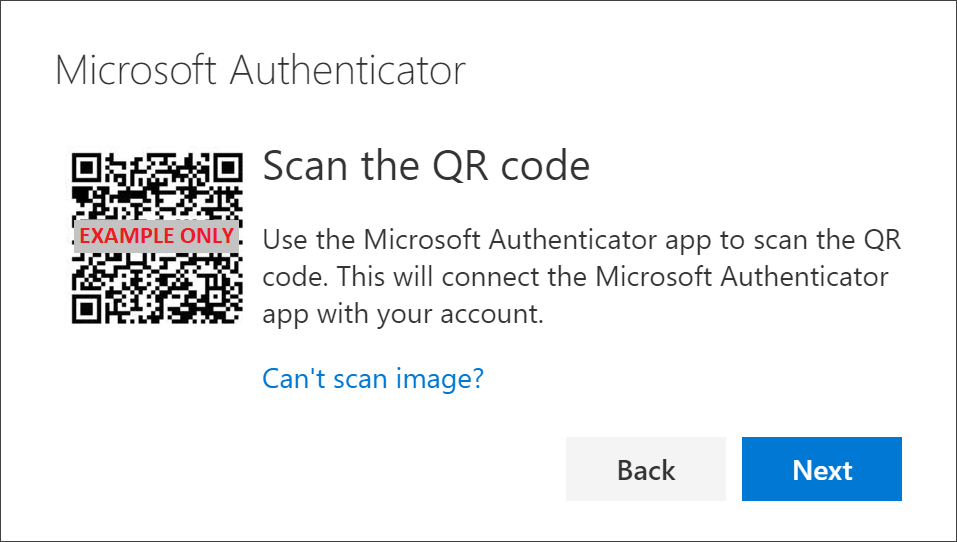
8. Scan the code presented to you using the QR code reader in the Microsoft Authenticator app, which appeared on your mobile device after you pressed the Add work or school account option in step 6.
- The authenticator app should successfully add your work or school account without requiring any additional information from you.
- However, if the QR code reader can't read the code, you can select the or enter code manually option in the Microsoft Authenticator app and manually enter the code and URL. The code and URL can be found by clicking the Can't scan image? link on the Scan the QR code page on your computer.
9. If successful, select Next on the Scan the QR code page on your computer.
- A notification is sent to the Microsoft Authenticator app on your mobile device, to test your account.
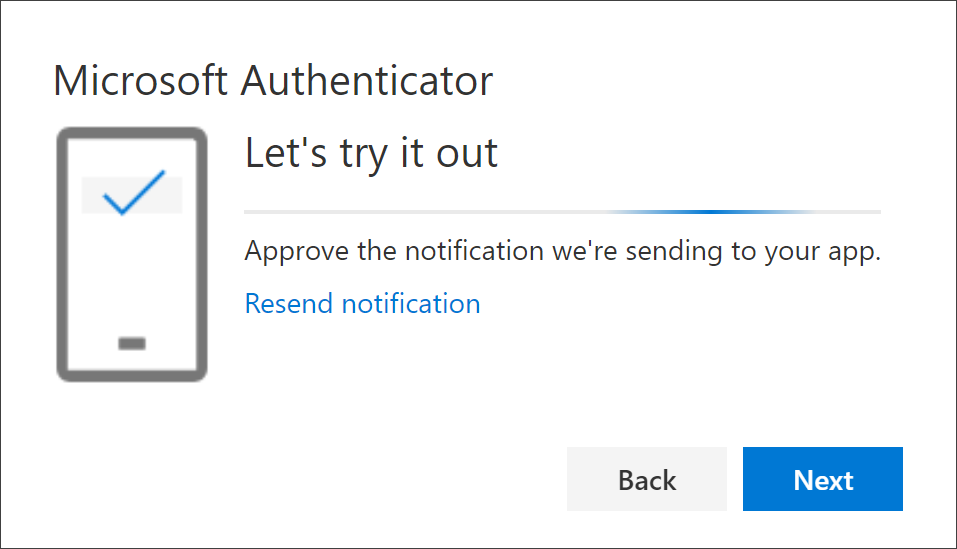
10. Approve the notification in the Microsoft Authenticator app on your mobile device, and then select Next.
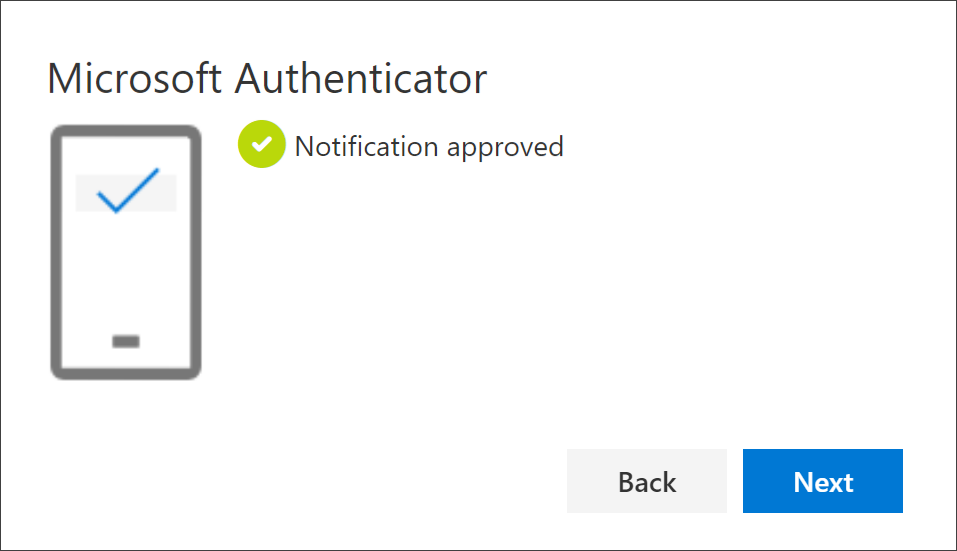
Success!
If you made it this far, and everything went well, the Microsoft Authenticator App will now be active!
If this is your first time registering, your security info is updated to use the Microsoft Authenticator app as the default option to verify your identity when requested for multi-factor authentication.
If this is not your first time registering, and you want the authenticator app to be the default method when requested for a multi-factor authentication verification, you can set it from the Security info page using the instructions linked below.
Change your default MFA sign-in method
Instructions for changing your default sign-in method can be found here: How to change your default MFA sign-in method
How to register with SMS
Please follow the below steps to complete the multi-factor authentication registration process.
Please note, registering a mobile phone number for SMS will also register that number as an option for receiving phone calls.
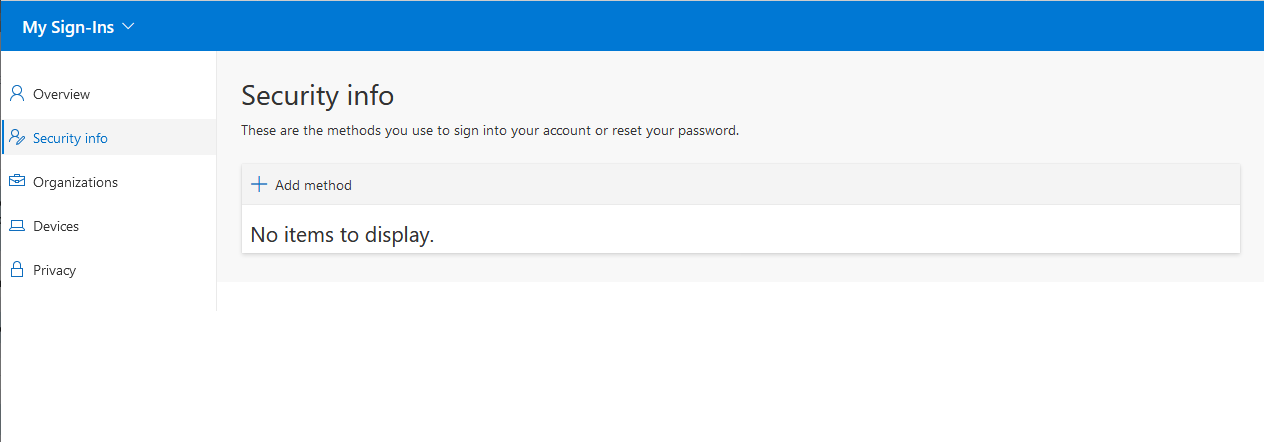
Browse to the following site mfa.utas.edu.au. You will be then asked to log in with your University username and password/passphrase. Once signed in you will be redirected to the MySignIns page.
To add a mobile phone number for SMS, click the Add Method Button
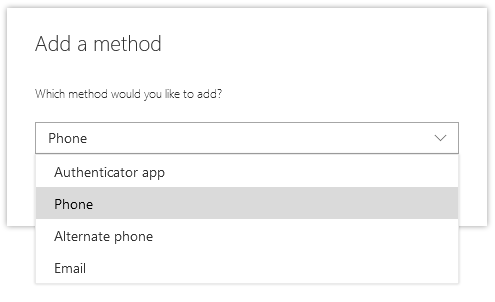
Select Phone, and Click Add
Select Australia (+61) from the country selection and enter your phone number.
Please note, the phone number entered here has had a portion of it redacted for privacy. Please enter your full phone number.
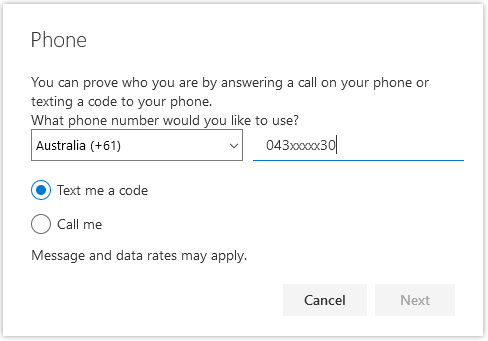
Select Text me a code, and click Next
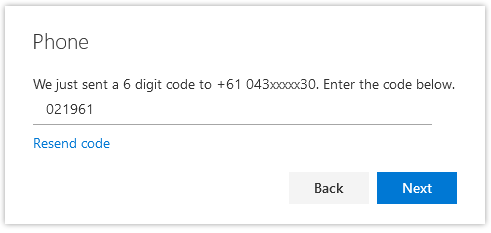
You will be sent an SMS with a code, enter that code and click Next
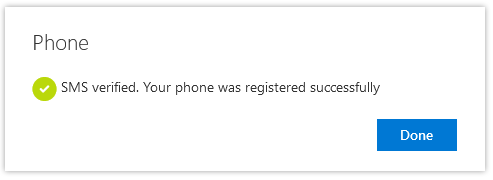
Once complete, you will receive a confirmation message
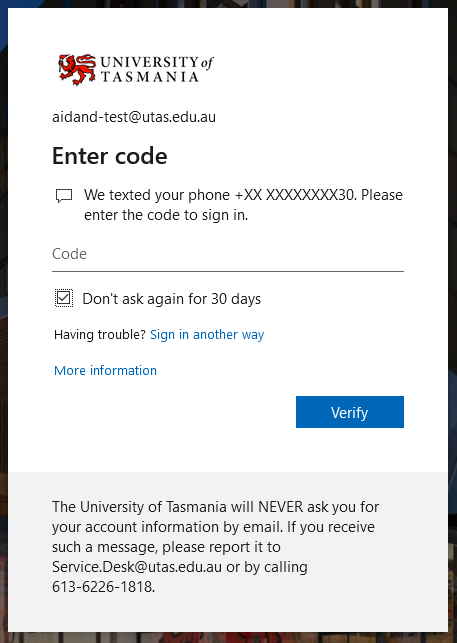
Using SMS for MFA
The next time you are prompted for MFA, you will be asked to enter the code sent to your phone via SMS.
To avoid being prompted every time, please check the Don't ask again for 30 days checkbox.